It’s no secret that curb appeal can truly make or break the value and appeal of your home. One simple way to maintain your home’s appearance is with a fresh coat of paint on your front door and a manicured walkway. In coastal towns like Fernandina Beach, windows and doors become worn from the salt in the air and seasonal storms.
Your front door needs repainting for different reasons. When the paint on the door becomes chipped or faded, you need to paint. Also, you may want an updated look for your front door. When you are ready to paint, choose a dry and warm day for the project. Also, use this handy step-by-step guide to get your front door painting project underway.
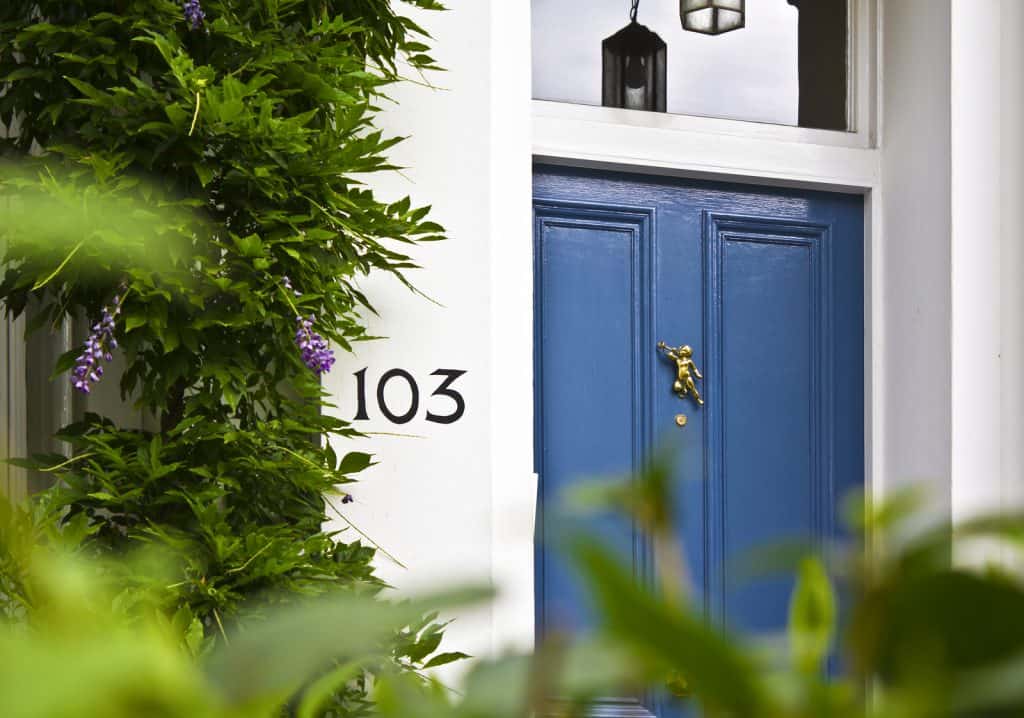
Step 1 – Choose the Color and Type of Paint
Before you paint, visit your local paint supply store to collect color samples. Tape these samples to your door and look at them throughout the day to determine what color is most appealing. Once you narrow down your color choices, buy a small sample of the paint to apply to the door to determine if you like the color before you start working.
A glossy finish is the most popular for doors and trim, but it all comes down to achieving the desired look for your home. We recommend that you purchase at least one quart of paint for the project as you might need to apply several coats.
Step 2 – Prep the Area
It’s essential to prep the area before you begin painting. Cover the porch and screen or storm door with a tarp or paint cloth. Tape off any trim you don’t plan to paint. If your door has a window, cover and tape the window to protect the glass.
Decide if you prefer to paint the door in place or remove it before painting. Regardless, it’s best to remove the door knob and hardware to make the project easier.
Clean the door with a damp cloth to remove all dust and dirt. If you don’t complete this step, the paint won’t adhere as well. Scrap and sand any peeling or chipped paint. Fill any cracks with caulk, let dry and sand until the surface feels smooth. Once you’re finished sanding, clean the door again to remove the dust from the sanding.
Step 3 – Primer Coat
Always do a coat of primer when painting a front door. This coat helps protect the door and provides a solid foundation for the paint to stick. For the primer coat, use a roller or brush. You’ll need to use a brush for any trim or beveled areas on the door.
Cover the entire surface with primer. Let the primer coat dry completely before painting the door.
Step 4 – Painting
First things first, stir the paint! This helps to ensure the color is mixed properly. Use a roller for the large, flat panel areas of the door and a brush for all trim and beveled areas. For the top coat, you may want to use a brush for the entire door to achieve a brushed finish.
Start at the top of the door and brush downward and wipe any paint drips as you go. If you don’t notice a drip before it dries, simply sand down the drip and clean the area before continuing to paint additional coats.
Apply at least two coats of paint and make sure the paint dries completely between each coat. To enhance the color, apply additional coats.
Step 5 – Clean Up
Let the paint dry completely before you remove tape or coverings. Clean all brushes, rollers and tools while you wait for the paint to dry. Once the paint is completely dry, remove all the protective coverings. If your door has a window, clean the window to remove any streaks or tape marks.
If you removed the door for painting, rehang the door. Also, replace the knob and hardware. Finally, enjoy your newly painted front door! Keep your Fernandina home looking beautiful all year long by following these easy steps whenever your door is due for a fresh coat.